This is the 2nd edition of oink
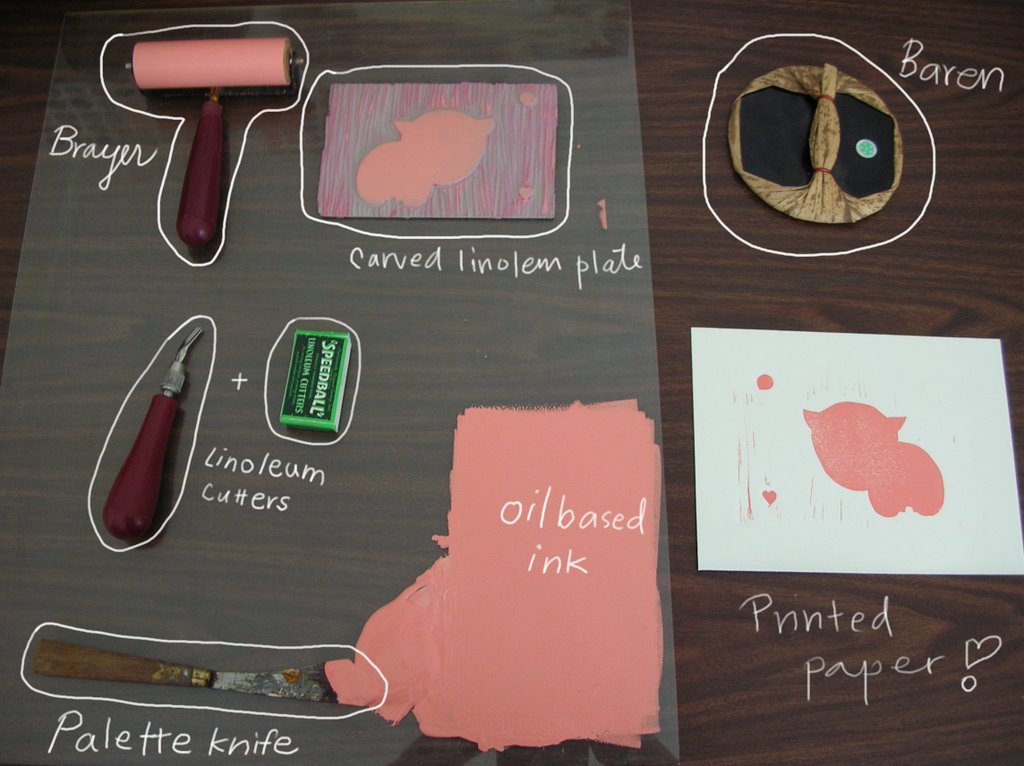 1. After I carved out the linoleum plate with the linoleum cutters.
2. I scooped out the ink red and white to make pink with my palette knife.
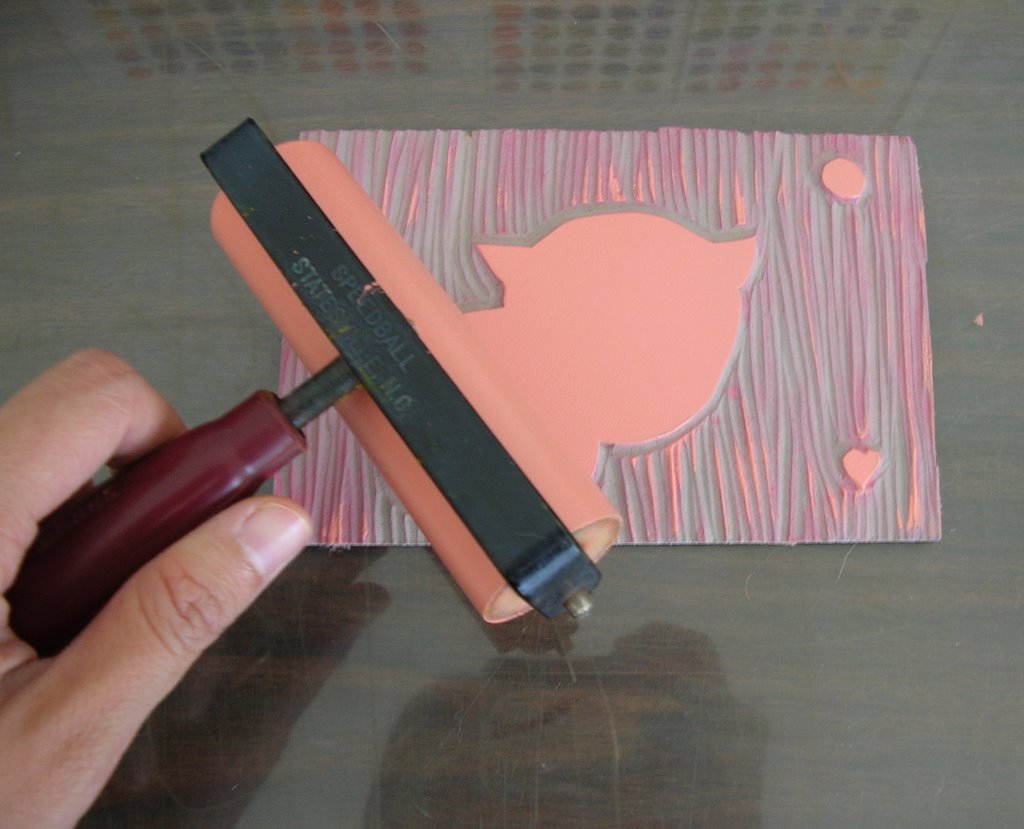
3. I rolled the ink on to the brayer and transfered the ink onto the linoleum plate.
 4. Placed the linoleum plate on to the paper. Tried to center as much as I can.
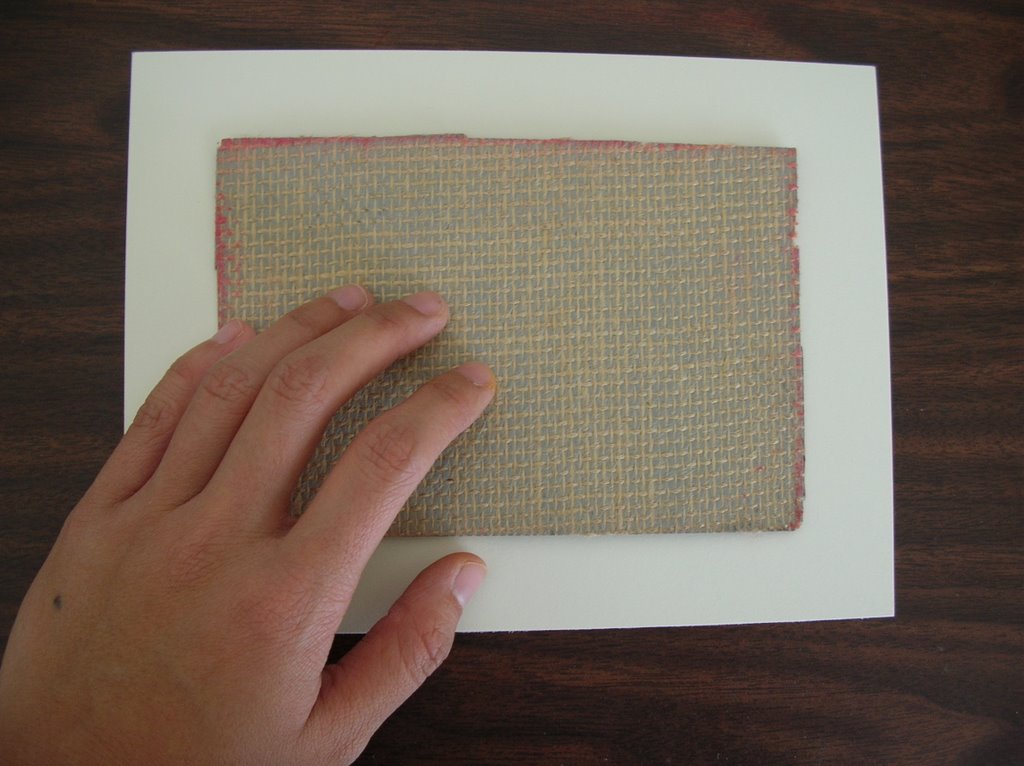 5. Then flip the whole thing over so the paper is on top. I placed a paper towel on top so the brayer won't hurt the paper. I used the brayer to apply even pressure so the ink can transfer to the paper evenly.
 6. Tada! Here's the first layer of pink. They all rest on the drying rack for about 3 days to be dry enough to add the 2nd color.
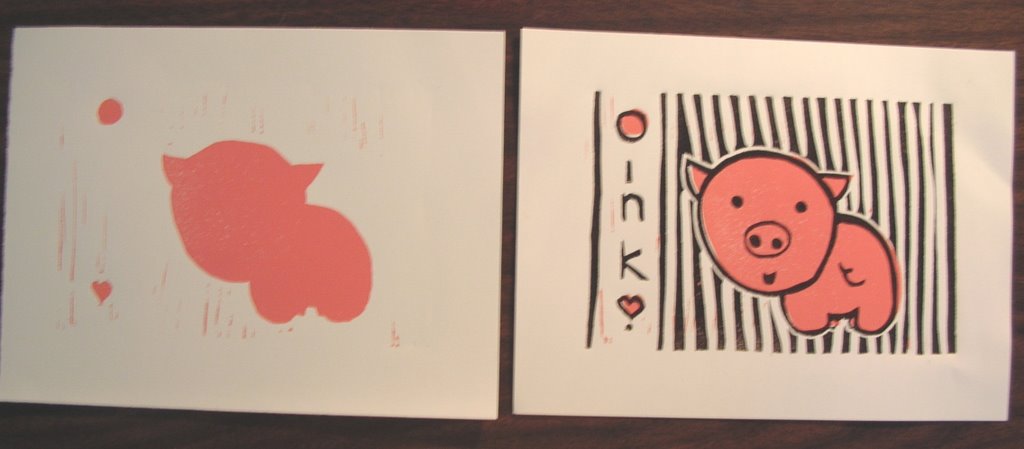
 7. Before and after the 2nd layer is applied.
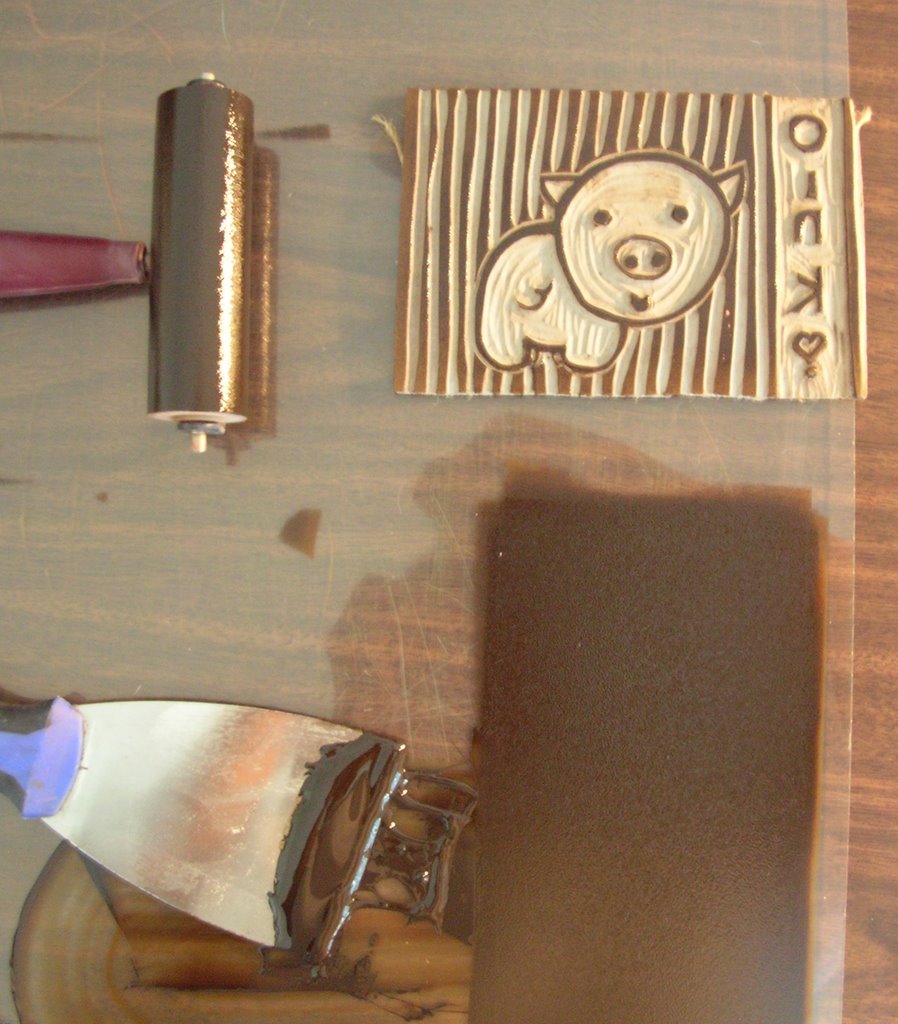
You can find more prints on rainyprints.etsy.com!
1 comment:
love the process -- pinko is cute as heck
Post a Comment